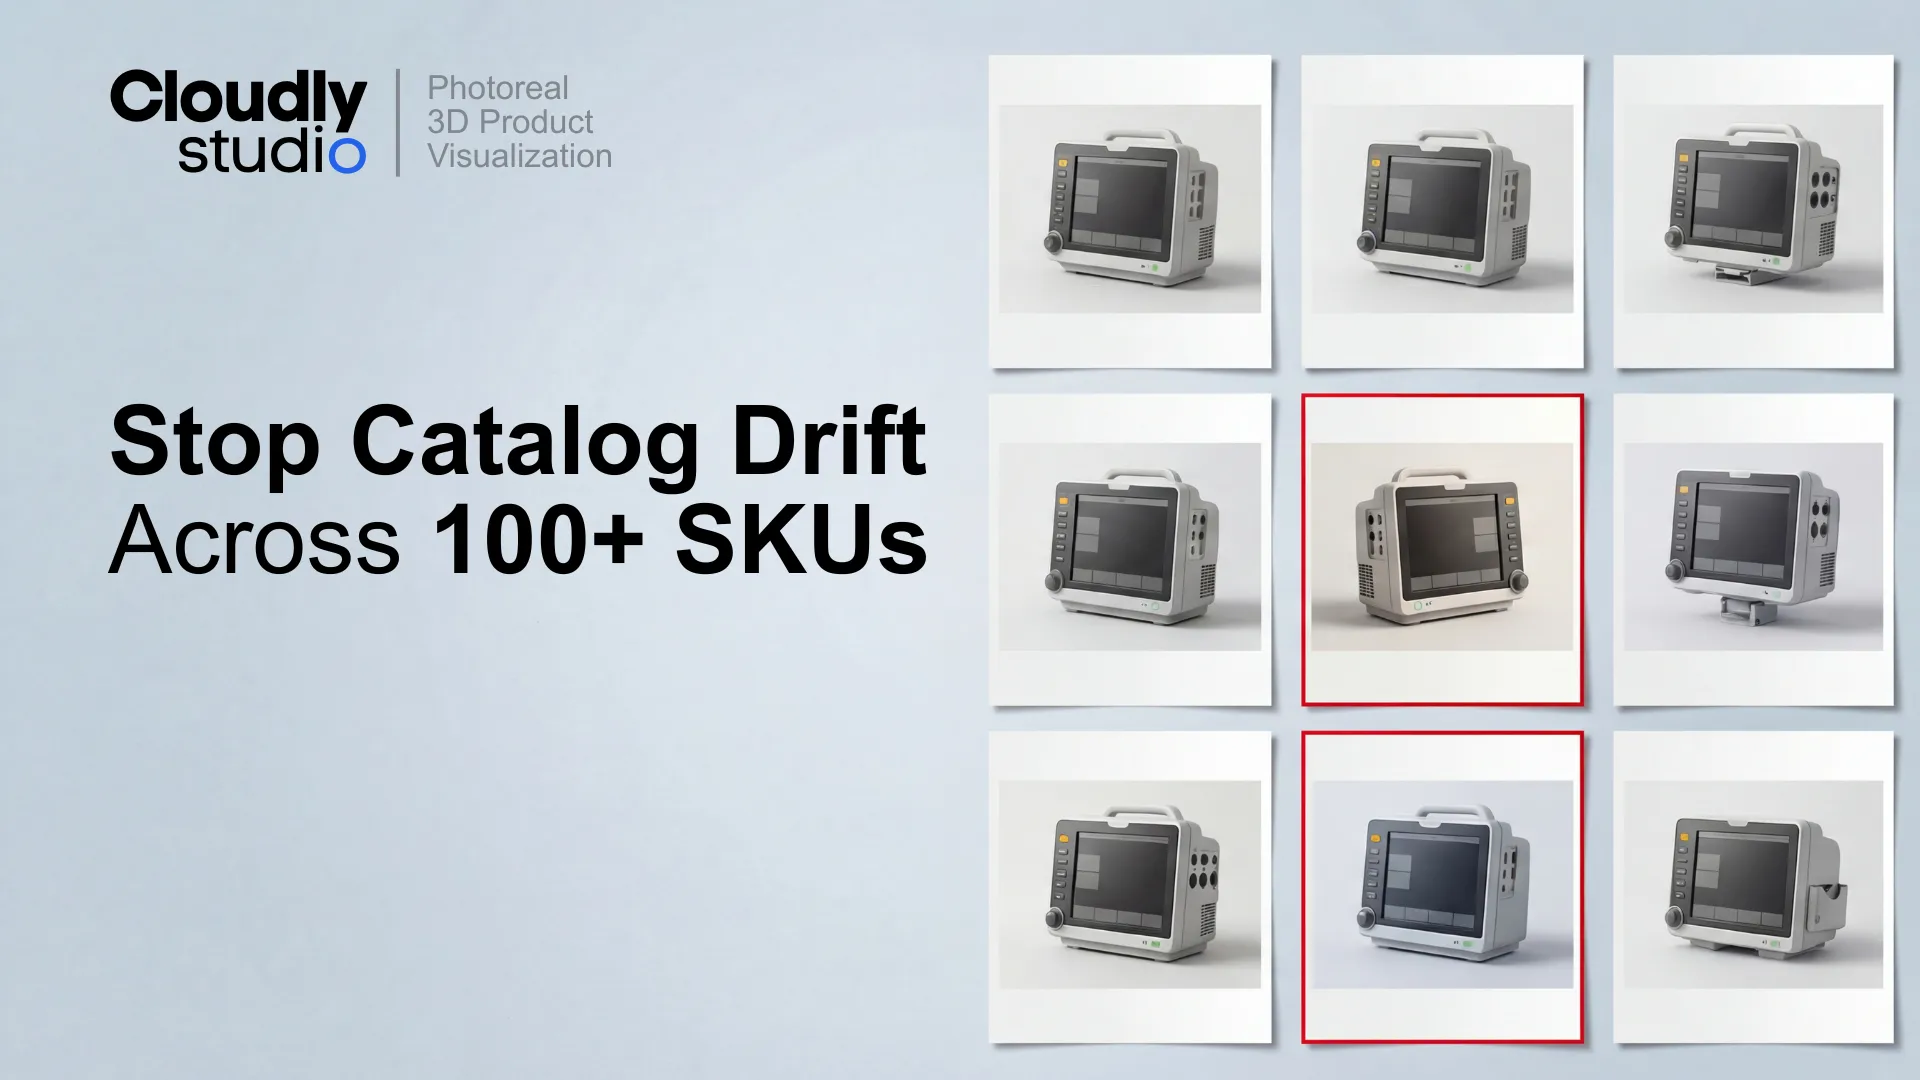
Catalogs do not break because someone makes a big mistake. They break because small,
well-intentioned tweaks stack up: a slightly different lens on one SKU, a tighter crop on the next,
a shadow that gets "cleaned up" in post.
After 30 products, the set no longer looks like a set.
The fix is not "be more careful." The fix is to treat visual consistency as a
production system
with explicit locks, reusable camera rigs, and a shadow spec that keeps every product grounded the
same way.
What "angle and perspective matched 1:1" actually means
"Angle and perspective matched 1:1" is not a vibe. It is a measurable alignment standard:
-
Angle means the camera is in the same position and orientation relative to the product.
-
Perspective means the optical behaviour is the same, so product proportions look identical
across SKUs.
In production terms, 1:1 matching means these are locked and repeatable:
1:1 Camera Matching - Required Locks
Camera position
Position (and height) in world space - never rebuilt per SKU.
Camera target
Look-at object is consistent. Horizon placement and roll locked.
Focal length
Lens focal length locked per view. Prevents perspective drift.
Sensor / filmback
Often forgotten, but critical. Document it and lock it.
Distance-to-subject
Rules defined when product sizes vary across the catalog.
Framing rules
How the product sits in the crop - baseline alignment, margins, tolerance.
A simple pass-fail test: overlay the latest render on the previous approved at 50% opacity. Product
silhouette and key edges must align. If they do not, you do not have 1:1 matching.
What 1:1 matching is not
-
"Same view label" (Front/Side/Hero) while using different rigs.
-
"Close enough" eyeballing.
-
Fixing camera drift in Photoshop after the fact.
-
Rebuilding the camera per SKU because "this one is a bit taller."
The rule that keeps catalogs sane: lighting can improve without breaking camera consistency
You can improve lighting as much as you want, as long as you do not change the camera system.
This works because the camera system is what the human eye uses to compare products across a set. If
the perspective shifts, the product looks different even if it is technically accurate. If the
camera stays locked, you can upgrade lighting and still preserve the "same catalog" feeling.
In practice, that means:
-
Camera is locked per view (Hero, Front, Side, Detail).
-
Lighting is versioned (baseline rig v1, improved rig v2).
-
Lighting improvements are applied to the template first, then rolled across the batch.
-
Per-SKU lighting improvisation is restricted, documented, and usually avoided.
This is how you get the best of both worlds: consistent geometry comparison across SKUs, and better
material readability and polish over time.
The Consistency Lock framework (5 steps)
Use this framework to enforce consistency without turning your renders into a frozen, unchangeable
system. It is designed for 100+ SKU catalogs and variant-heavy product families.
01
Camera
Lock camera position, target, horizon, and roll per view.
Store cameras as reusable rigs, not ad hoc settings.
02
Focal length
Lock focal length and sensor/filmback.
Prevents subtle perspective drift that makes products feel "bigger" or "flatter" across the
set.
03
Framing
Define crop rules: margins, baseline alignment, and allowable crop tolerance.
Framing is a consistency lever. Treat it like a spec, not an aesthetic preference.
04
Lighting baseline
Establish one approved lighting rig as the baseline.
Allow improvements through versioning, not per-SKU experimentation.
05
Shadow spec
Define direction, softness, density, and contact behaviour.
If you only implement one thing: camera + framing locks first, then build lighting and shadows on
top. Camera drift creates rework that scales with every SKU.
Camera library + overlay checks: the production method that actually scales
A camera library is a controlled set of named, versioned camera rigs that are reused across your
catalog. Think of it as
"views as assets"
:
Example Camera Library
HERO_34_RIG_v03
Hero ¾ view - primary e-commerce and marketing view. Locked position + framing.
FRONT_RIG_v02
Orthographic-style front elevation for technical clarity.
SIDE_RIG_v02
Profile view for packaging and grid layouts.
DETAIL_TOP_RIG_v01
Detail overhead for controls, screens, labels.
Each rig includes camera position, lens, filmback, target, and framing rules. The library is owned
like any production asset: it has versions, change notes, and a clear "approved" state.
Why this compounds over time:
-
New SKUs inherit proven cameras - no rework on angles.
-
Variants (colours, accessories, configurations) stay aligned automatically.
-
Review cycles shorten because stakeholders stop arguing about angle differences.
Camera matching rules that prevent catalog drift
✓
Lock camera rigs per view. Do not rebuild cameras per SKU.
✓
Lock focal length and filmback. Document both.
✓
Lock camera roll at 0 unless a view explicitly requires otherwise.
✓
Use baseline alignment rules (feet, base plate, contact point) so framing stays stable.
✓
Use overlay pass-fail checks before finals, not after.
✓
Allow lighting improvements only through versioned lighting baselines, not per-SKU "hero
tweaks."
✓
Require a shadow spec and keep shadows separate from the product layer.
Common failure modes in 100+ SKU catalogs
01
Camera drift through "minor fixes"
A slightly different horizon because the product is taller. A small lens change because
something felt tight. A crop adjustment because "it looks better." These cascade: if you
accept camera drift on SKU 17, you will re-render previous SKUs or live with inconsistency
forever.
02
Lighting drift through per-SKU "polish"
If artists improve lighting individually, the catalog becomes a patchwork - some products feel
glossy, others matte. The fix: improve once in the template, then roll it across the set.
03
Shadow drift through inconsistent comp habits
Shadows are often "fixed" in comp in inconsistent ways. A
separate shadow layer
with a defined spec is the only reliable fix.
04
Variant chaos
A catalog is not 100 SKUs. It is 100 SKUs × variants: colourways, accessories, configurations,
regional differences. Only a library-first approach scales this without rework.
A realistic workflow for implementing Consistency Lock
Step 1
Choose the views you will lock
Start with 2–4 views that do the most work. Hero ¾ view, Front, Side, one Detail view if
needed. Do not start with 12 views.
Step 2
Build the camera library and framing rules
Deliverable: approved camera rigs per view, framing spec with baseline alignment rules, one
approved overlay reference per view.
Step 3
Establish the lighting baseline
Deliverable: lighting rig v1 documented, allowed adjustments (rare) documented, a plan for
upgrading lighting via versioning - not improvisation.
Step 4
Define the shadow spec and enforce separation
Deliverable: shadow direction, softness, density bounds, contact shadow requirement, shadow
delivered as a separate layer.
Step 5
Implement QA checks that match catalog reality
A good QA loop is not "it looks good." It is: overlay alignment passes, shadow spec passes,
material readability passes, and product accuracy verification.
Consistency is a system, not a taste
The best catalog teams do not rely on heroic attention to detail. They rely on locks: camera rigs,
framing rules, baseline lighting, and a shadow spec that makes every SKU feel like it belongs in the
same world.
Implement Consistency Lock and you get:
-
Faster production after the first setup.
-
Fewer subjective review rounds.
-
Better reuse across variants and future batches.
-
A catalog that stays consistent even as lighting and polish improve.
Free Download
Camera + Shadow Style Guide Template
Camera rigs per view - IDs, lens, filmback, target, horizon rule
Framing rules with baseline alignment and tolerance
Shadow spec: direction, softness, density, contact behaviour